 EN
Pipe Clamp Implementation: Effective Strategies for 2026
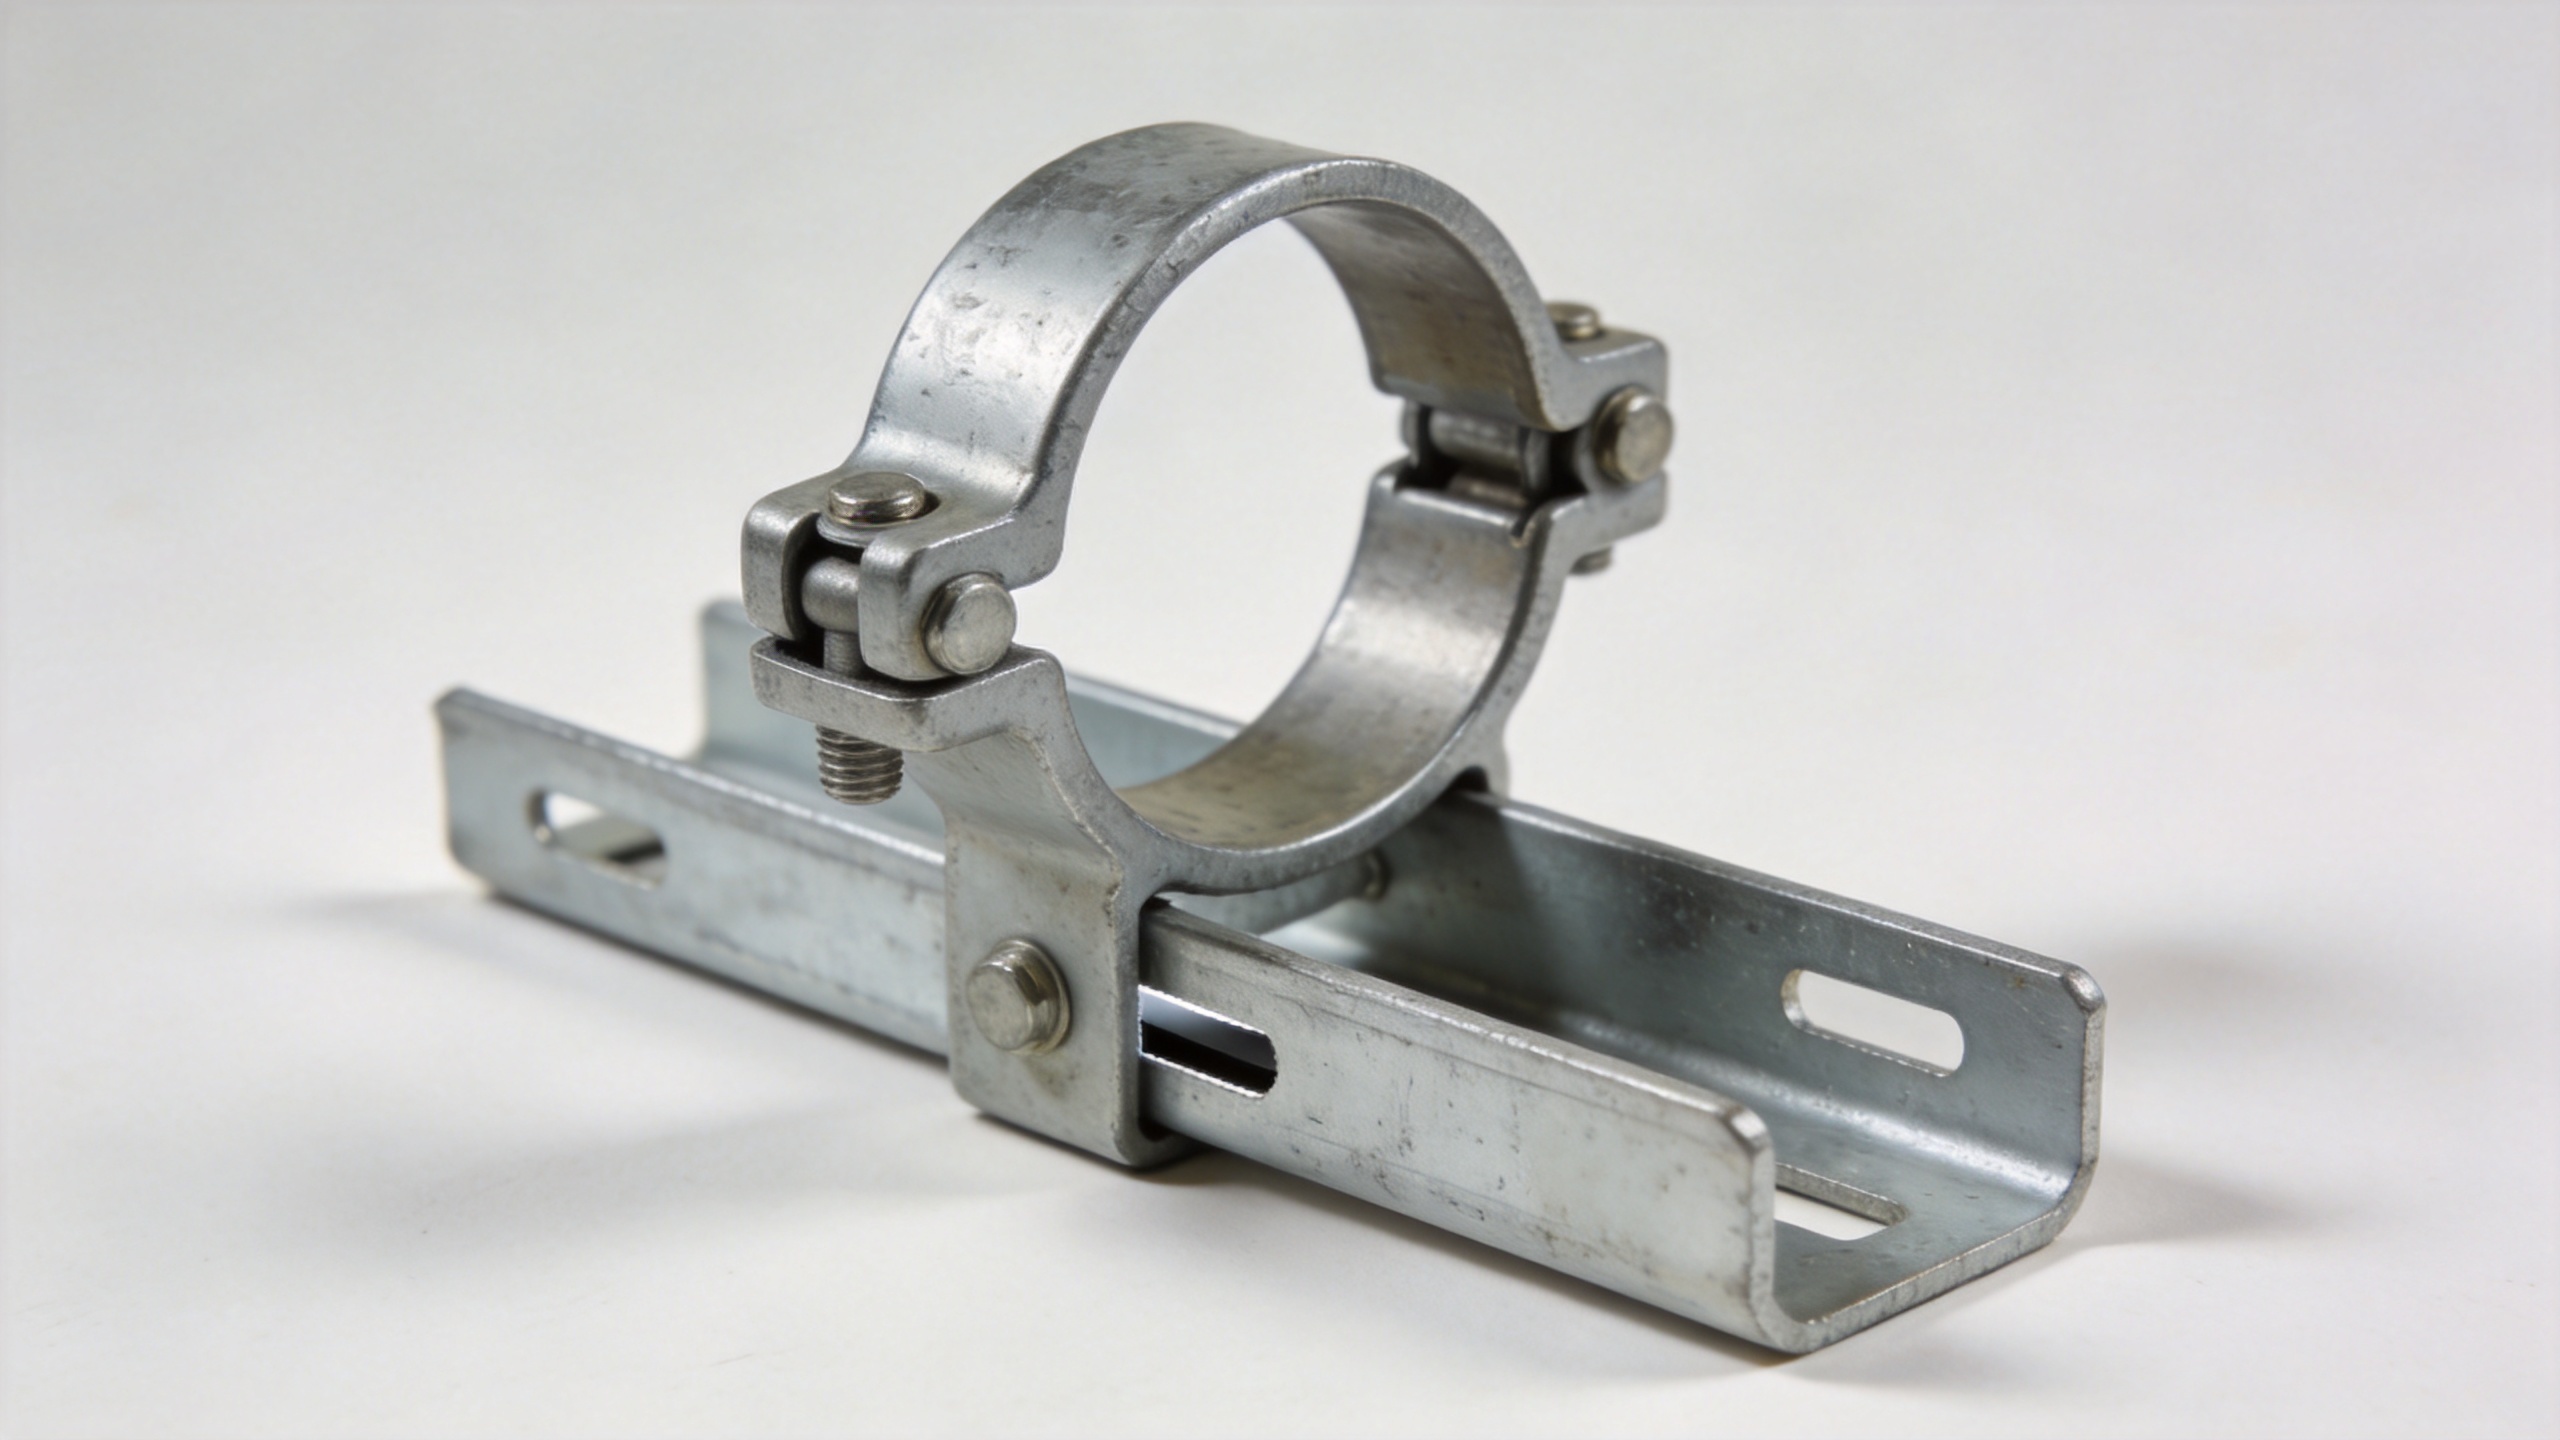
A pipe clamp looks like a simple component, but implementation decisions determine whether a pipe run stays aligned, remains serviceable, and accommodates the movement it was designed to have. For installers, OEM buyers, and maintenance teams, the useful question is not merely “Which clamp fits?” It is: “What job must this clamp perform at this location?” That distinction matters when a system includes vertical loads, vibration, changing temperatures, coated pipe, or a mix of indoor and exposed areas.
From a manufacturing perspective, a reliable pipe clamp implementation starts with consistent information: actual pipe outside diameter, support function, mounting substrate, environmental exposure, and the required movement at that point. A clamp that fits the nominal pipe description but conflicts with those conditions can create a problem that is expensive to find later.
Start by defining the clamp’s job
“Pipe clamp” is often used for several different products. Some clamps retain a line against a wall or channel. Some carry vertical load. Others guide a run while allowing controlled axial movement, and some are intended primarily to seal or repair. Treating them as interchangeable is the fastest route to poor implementation.
- Fixed or anchor points hold a pipe in a defined position and transfer force into the structure.
- Guides keep the run on its intended path while allowing movement in the designed direction.
- Sliding or movement-friendly supports reduce unintended restraint where expansion and contraction must be accommodated.
- Riser-support arrangements are selected around vertical-load requirements, not simply because they close around the pipe.
- Retention clamps keep a line located but may not be designed to carry the load or control movement of the whole run.
A useful implementation review therefore begins with the piping drawing and support intent. Do not use a clamp merely to make a run look straight. If the pipe must move, the support strategy must let it move in the intended direction.
Verify the pipe and the load path before ordering
The first field measurement should be the actual outside diameter, including any coating, insulation detail, or protective layer that affects contact. Nominal size alone is not enough for every system. Confirm the clamp’s stated range, the closing mechanism, and whether the assembly will still seat correctly after installation tolerances are considered.
Next, trace the load path. The clamp body, fastener, bracket or channel, anchor, and mounting substrate work as a system. A strong-looking pipe clamp cannot compensate for an unsuitable base material or an anchor that is not selected for the expected loading condition. Where a pipe run is vertical or carries concentrated equipment-related load, have the support arrangement reviewed against the applicable design documents and local requirements.
For purchasing teams, this is where specification discipline pays off. Ask suppliers to align material, finish, diameter range, fastener interface, and documentation to the approved design—not to substitute parts based on appearance. Dongyang Kuaou Hardware supports OEM and ODM hardware sourcing, so a buyer can also define packaging, labeling, and inspection information alongside the clamp requirement rather than treating those details as an afterthought.
Match material and surface protection to the environment
Material selection should follow the real exposure, not an assumption that one finish is universally better. Indoor dry areas, humid utility spaces, outdoor locations, and installations near corrosive media impose different demands. Stainless options can be appropriate where corrosion resistance is required, while coated steel may be a practical choice for compatible environments and budgets. The key is to document the environment and confirm the intended material with the responsible engineer or project specification.
Here is the practical correction many projects need: a clamp that appears suitable on a bench may not be suitable after months of moisture, condensation, chemical exposure, or abrasion. If the pipe has a protective coating, consider whether direct metal contact could damage it. A cushion, liner, or compatible isolation detail may be needed when the design calls for protection or controlled movement.
Plan fixed points, guides, and movement together
Thermal movement is one of the most commonly missed pipe clamp implementation issues. Industry guidance on thermal expansion emphasizes that supports and clamps should be aligned with expected movement rather than creating accidental restraint. That does not mean every clamp should slide; it means the pipe system needs a deliberate combination of fixed points, guides, and movement provisions.
Begin at equipment connections, direction changes, long straight runs, and locations where temperature changes are expected. Identify which points are intended to anchor the run, which points guide it, and where the pipe may travel. Then check the clamp orientation and clearance around brackets, walls, insulation, and adjacent services. A guide that is skewed, overtightened, or blocked by nearby work can impose side load instead of controlling alignment.
When you start asking not “Which pipe clamp is strongest?” but “Is this clamp appropriate for this movement condition?” the implementation logic becomes much clearer. For final spacing, loads, and movement calculations, follow the project’s engineering design and applicable codes rather than relying on a generic installation rule.
Use an installation sequence that prevents rework
- Review the approved support plan. Mark anchor, guide, and load-carrying locations before drilling or welding.
- Confirm materials at receiving. Compare clamp size range, material, finish, and hardware against the purchase specification. Segregate mixed finishes or visually similar sizes.
- Set out support locations accurately. Establish reference lines so clamps do not force the pipe out of alignment.
- Install the structural interface first. Verify bracket, channel, rod, or anchor compatibility with the substrate and installation method.
- Position the pipe without forcing it. A pipe clamp should secure a correctly positioned line; it should not be used to pull a misaligned pipe into place.
- Tighten to the approved requirement. Avoid overtightening, especially where deformation, coating damage, cushions, or a designed sliding function are concerns.
- Inspect the completed run. Check alignment, clearances, access for maintenance, contact points, and the intended direction of movement.
Build quality checks into the handover process
A short inspection record makes pipe clamp implementation repeatable across crews and projects. Record the clamp type and size, material or finish, support role, mounting location, installer, date, and any deviations approved in the field. Photographs of representative anchor, guide, and transition locations are often more useful than a large collection of generic progress images.
For OEM and retail programs, repeatability also includes packaging and traceability. Kuaou Hardware offers sourcing support across a broad hardware range and can help buyers organize shelf-ready or private-label packaging requirements. That is separate from the engineering decision, but it helps procurement teams receive, identify, and stage the correct clamp variants without creating mix-ups on site.
Common mistakes to avoid
- Choosing by nominal size without confirming actual outside diameter and clamp range.
- Using a retention clamp where the design requires a load-carrying support or a guide.
- Adding clamps to remove visible sag without checking the structural load path.
- Restraining a pipe that needs controlled thermal movement.
- Mixing materials or finishes without considering corrosion exposure and contact compatibility.
- Using a clamp to correct pipe misalignment rather than correcting the pipe route or support setout.
- Skipping receiving and final inspection because clamps appear identical at a glance.
Pipe clamp field-control matrix
Use this brief matrix during the walkdown. For each pipe clamp, record its size. For each pipe clamp, confirm its support role. For each pipe clamp, verify its mounting hardware. For each pipe clamp, inspect its finish. For each pipe clamp, check clearance. For each pipe clamp, confirm that tightening has not distorted the pipe.
- A pipe clamp at an anchor needs an approved load path.
- A pipe clamp at a guide needs directional clearance.
- A pipe clamp at a sliding point must not become a fixed point.
- A pipe clamp near equipment needs access for inspection.
- A pipe clamp on coated pipe needs compatible contact protection.
- A pipe clamp in a wet area needs an environment-appropriate finish.
- A pipe clamp on a vertical run needs the specified load-support arrangement.
- A pipe clamp beside another service needs confirmed clearance.
- A pipe clamp installed after rerouting needs a fresh alignment check.
This makes support verification and maintenance more consistent across the project.
A practical 2026 implementation checklist
Before releasing a pipe clamp order or starting installation, verify five items: the pipe’s actual dimensions, the clamp’s intended function, the load path into the structure, environmental compatibility, and the movement expected at that location. During installation, protect alignment and avoid forcing the line. At handover, document the support role and inspect representative locations.
Those steps are straightforward, but they turn a pipe clamp from a generic fastening item into a controlled part of the piping system. A sound implementation is not the one with the most clamps or the tightest hardware. It is the one that follows the approved support intent, protects the pipe, and remains practical to inspect and maintain.
 Hot News