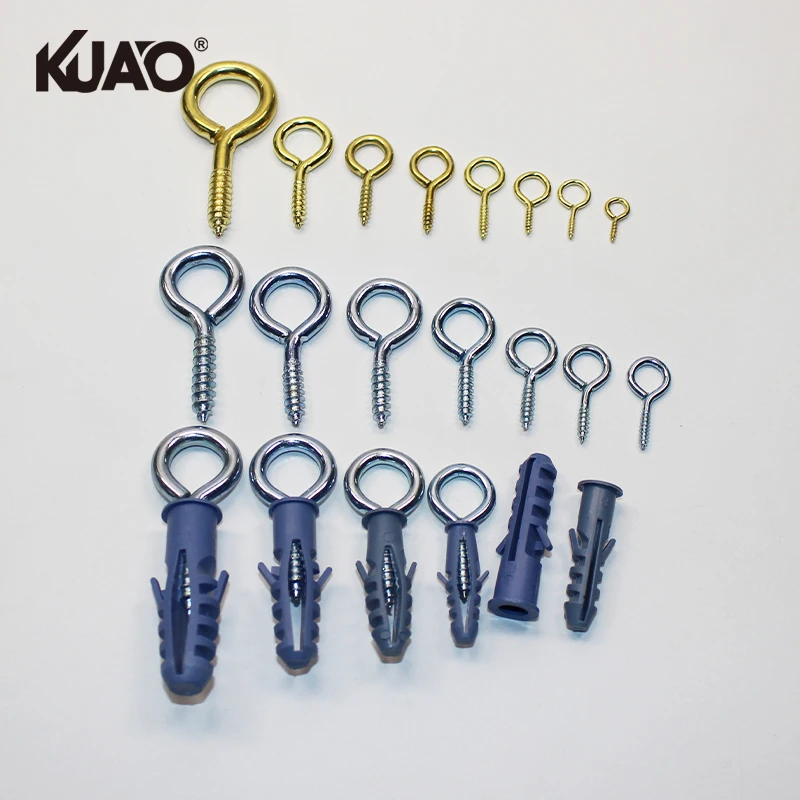
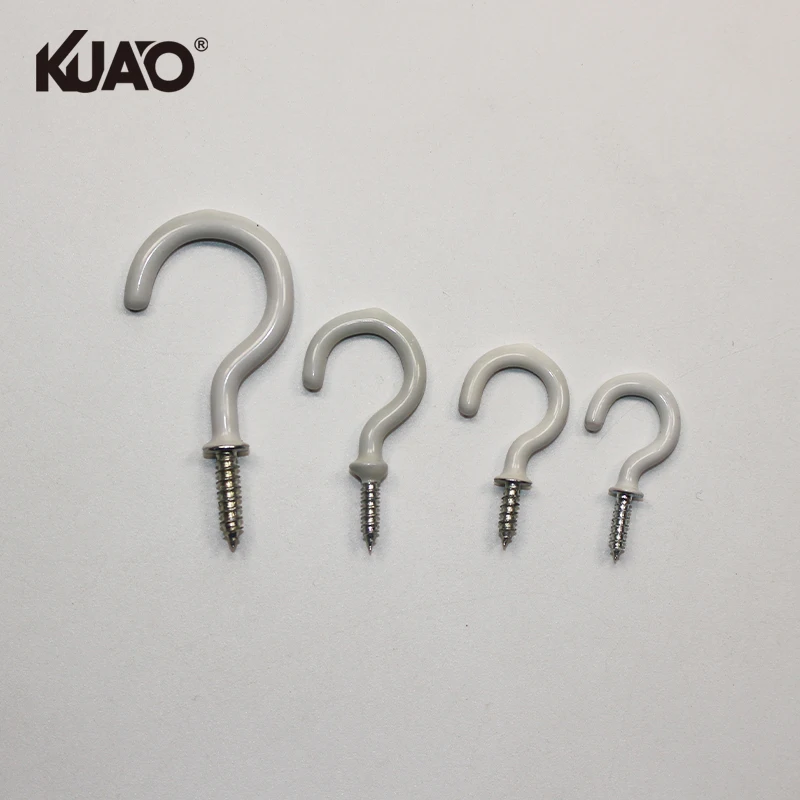
Eye hooks excel as a low-profile, cost-effective anchoring solution for both decorative and functional hanging needs. Their simplicity—a screw thread and a loop—enables quick installation across wood, drywall, or masonry, reducing project time without sacrificing reliability. Design flexibility is a key advantage: the visible loop can serve as a subtle design element or blend seamlessly into ceilings and walls, accommodating pendant lights, plant hangers, artwork, and more. For vertical loads, standard eye hooks suffice; for angled pulls or dynamic weight, shoulder-type variants distribute stress more evenly and resist twisting—boosting safe working capacity by up to 40% compared to standard designs. This balance of minimal hardware, clean aesthetics, and robust load handling makes eye hooks a go-to choice for DIYers and professionals alike. When selected to match substrate type and expected load, they deliver secure, unobtrusive mounting that supports function without compromising visual intent.
Wood framing provides the strongest base for eye hooks when using lag-threaded screw eyes. Select a hook with a thread length penetrating at least 1–1.5 inches into solid structural wood—avoid end grain or compromised sections like knots or splits. Drill a pilot hole with a diameter 60–75% of the shank’s minor diameter to preserve wood fibers and reduce splitting risk. Align the pilot hole parallel to the grain; cross-grain insertion weakens holding power by up to 30%, per industry testing standards. Begin threading by hand until the hook bites, then use a drill with a matched driver bit to seat it fully. Apply steady, moderate torque—stop when the shoulder contacts the surface. Overtightening risks stripping threads or compressing wood fibers, lowering load capacity. A properly installed ½-inch lag eye hook in sound framing can safely support over 300 pounds vertically. For off-axis or swinging loads, choose a shoulder-type eye hook to manage bending stress. Always verify the wood is dry and structurally sound before installation.
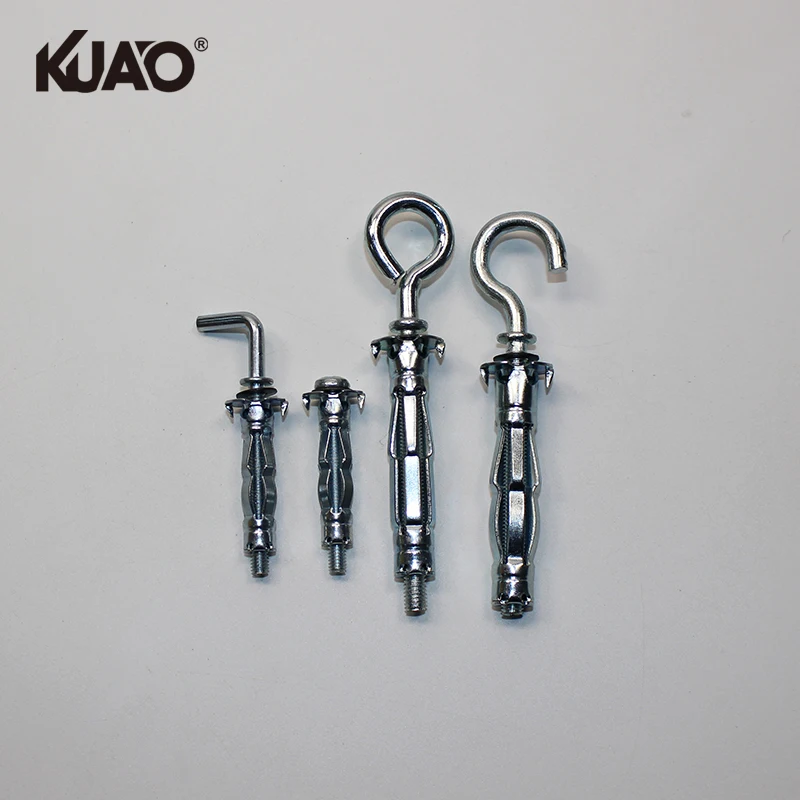
Drywall and plaster offer negligible inherent holding strength, making anchor selection critical. For static loads under 20 pounds—such as lightweight picture frames or small hooks—plastic expansion anchors paired with small screw eyes are appropriate. Drill a hole matching the anchor’s specified diameter, insert the anchor flush, then tighten the eye hook until snug (not overtightened). For heavier items—like ceiling-mounted fans or medium-weight shelves—toggle bolts with machine-threaded eye bolts provide superior pull-out resistance, exceeding 100 pounds in standard ½-inch drywall. Drill a hole large enough for the folded toggle, push it through, then pull back gently to engage the wings behind the gypsum board. Tighten the eye bolt gradually to avoid crushing the drywall face. In older plaster walls, brittle lath requires extra care: drill slowly with a masonry bit and use molly bolts designed to expand behind the lath layer. Crucially, any load above 50 pounds should be anchored directly into wood framing—locate studs with a reliable stud finder and install the eye hook there.
Masonry (brick, concrete, block) and tile demand precision tools and technique. Use carbide-tipped bits with an impact drill for clean, controlled holes. In solid concrete, wedge anchors or drop-in anchors deliver high pull-out strength; for brick or hollow block, sleeve anchors or epoxy-set rods are preferred. Drill holes ¼ inch deeper than required embedment depth, then thoroughly clean debris—dust contamination can reduce bond strength by up to 50%, according to ASTM E488 testing protocols. For epoxy anchors, inject adhesive into the cleaned hole, insert the threaded rod, and allow full cure time before loading. Mechanical anchors install faster but may loosen under vibration or thermal cycling—especially outdoors. Temperature fluctuations cause differential expansion between steel fasteners and masonry substrates; stainless steel eye hooks and anchors mitigate corrosion and fatigue risks. Avoid over-torquing mechanical anchors in brittle materials: hand-tighten until firm, then add only a quarter turn. For tile, start with a diamond-tipped bit to penetrate the glaze cleanly, then switch to a carbide bit for the underlying substrate. Secure the eye hook using plastic wall plugs (for light loads) or epoxy (for heavy or dynamic applications) to prevent cracking.
A systematic inspection routine prevents the majority of eye hook failures. The following checks help ensure the installed eye hook can safely carry the intended load.
Always confirm the eye hook’s published working load limit (WLL) meets or exceeds the total supported weight—including dynamic forces like sway, wind, or movement. Inspect threads for cleanliness, corrosion, or nicks before installation; damaged threads compromise clamping force and load transfer. For tapped installations, ensure thread engagement depth reaches at least 1.5× the bolt diameter in steel or equivalent material strength. Visually examine the eye for bends, cracks, or elongation—and verify alignment with the expected load path to avoid dangerous side-loading. Under Occupational Safety and Health Administration (OSHA) 1926.251 guidelines, rigging hardware must be inspected before each shift. A concise checklist covering these points establishes an effective, repeatable safety protocol.
Replace an eye hook immediately if you observe deformation in the eye, neck, or threads—or if surrounding substrate shows cracking, spalling, or heavy pitting. A bent eye signals prior overload or misalignment, permanently compromising structural integrity. Do not reuse or straighten deformed hooks: metal fatigue occurs internally and cannot be visually assessed. Corrosion—particularly at the shank-to-substrate interface—reduces cross-sectional strength and accelerates failure. Also consider upgrading when application conditions change: switch to shoulder-type eye hooks or swivel hoist rings for angular lifts or dynamic loads to eliminate bending stress. When uncertainty remains, opt for a higher-capacity, stainless steel eye hook rated for the revised load profile—proactive reinforcement is always safer than reactive repair.
Eye hooks provide a cost-effective, simple, and versatile solution for anchoring tasks. They balance strength with minimal design impact and accommodate a variety of functional and decorative uses.
Shoulder-type eye hooks are recommended for dynamic loads or angled pulls as they distribute stress evenly and resist twisting.
An eye hook should penetrate at least 1–1.5 inches into solid structural wood for maximum stability and load support.
For light loads, plastic expansion anchors are effective, while toggle bolts or molly bolts are preferred for heavier loads.
Yes, eye hooks can be installed on masonry using carbide-tipped drill bits, epoxy anchors, or mechanical fasteners suited for specific substrates.
 Hot News
2025-12-16
2025-12-11
2025-06-05
2024-11-30

Dongyang Kuaou Hardware Co., Ltd.
Copyright © Dongyang Kuaou Hardware Co., Ltd. - Privacy policy

 EN
EN