
 EN
EN
How to Choose the Right Bolt for DIY Projects
Choosing a bolt for a DIY project is less about finding the strongest item in a drawer and more about matching a fastener to a real joint. A shelf bracket, garden gate, workbench, and flat-pack repair can all need a different solution. Start with what you are joining, how thick the parts are, and whether the connection must come apart later. That simple sequence keeps a bolt from being either too short to grip properly or so long that it creates a snagging hazard.
For a DIY user, the best bolt is one that fits the hole, accepts the right nut, reaches through the full material stack, and suits the environment. Think of the choice like choosing a key: close is not good enough. Diameter, thread, length, head style, material, and washers all have a job to do.
Start With the Joint, Not the Bolt
Before shopping, identify the materials on both sides of the joint. A through-hole connection in wood, metal, or plastic can use a bolt and nut. A blind hole that cannot be reached from the back may need a different fastener, such as a wood screw, machine screw into a threaded insert, or a suitable anchor. Do not force a bolt where there is no way to secure a nut.
Next, ask what the joint has to handle. A light picture-frame repair has different demands from a bench leg that sees repeated side loads. If the pieces may shift, use washers to spread the clamping force and prevent a small nut or head from digging into soft wood. For moving parts such as a gate hinge, tighten the bolt enough to hold the assembly together while preserving the required movement.
Pick a Bolt Diameter That Matches the Hole and Load
The bolt diameter should match the hole and the load path. A bolt that rattles in an oversized hole can allow a joint to creep; one forced through an undersized hole can damage the material or the threads. Measure the hole with calipers when possible, or test-fit a plain shank gently. If you are drilling a new clearance hole, plan the bolt size first and drill cleanly rather than widening a hole by trial and error.
A larger diameter is not necessarily better. An oversized bolt removes more material from a narrow wood rail or thin metal strip, which can weaken the part you are trying to protect. Choose the smallest diameter that gives a stable, sensible connection for the job, then use a washer when the bearing surface needs support.
Get Thread Type and Nut Compatibility Right
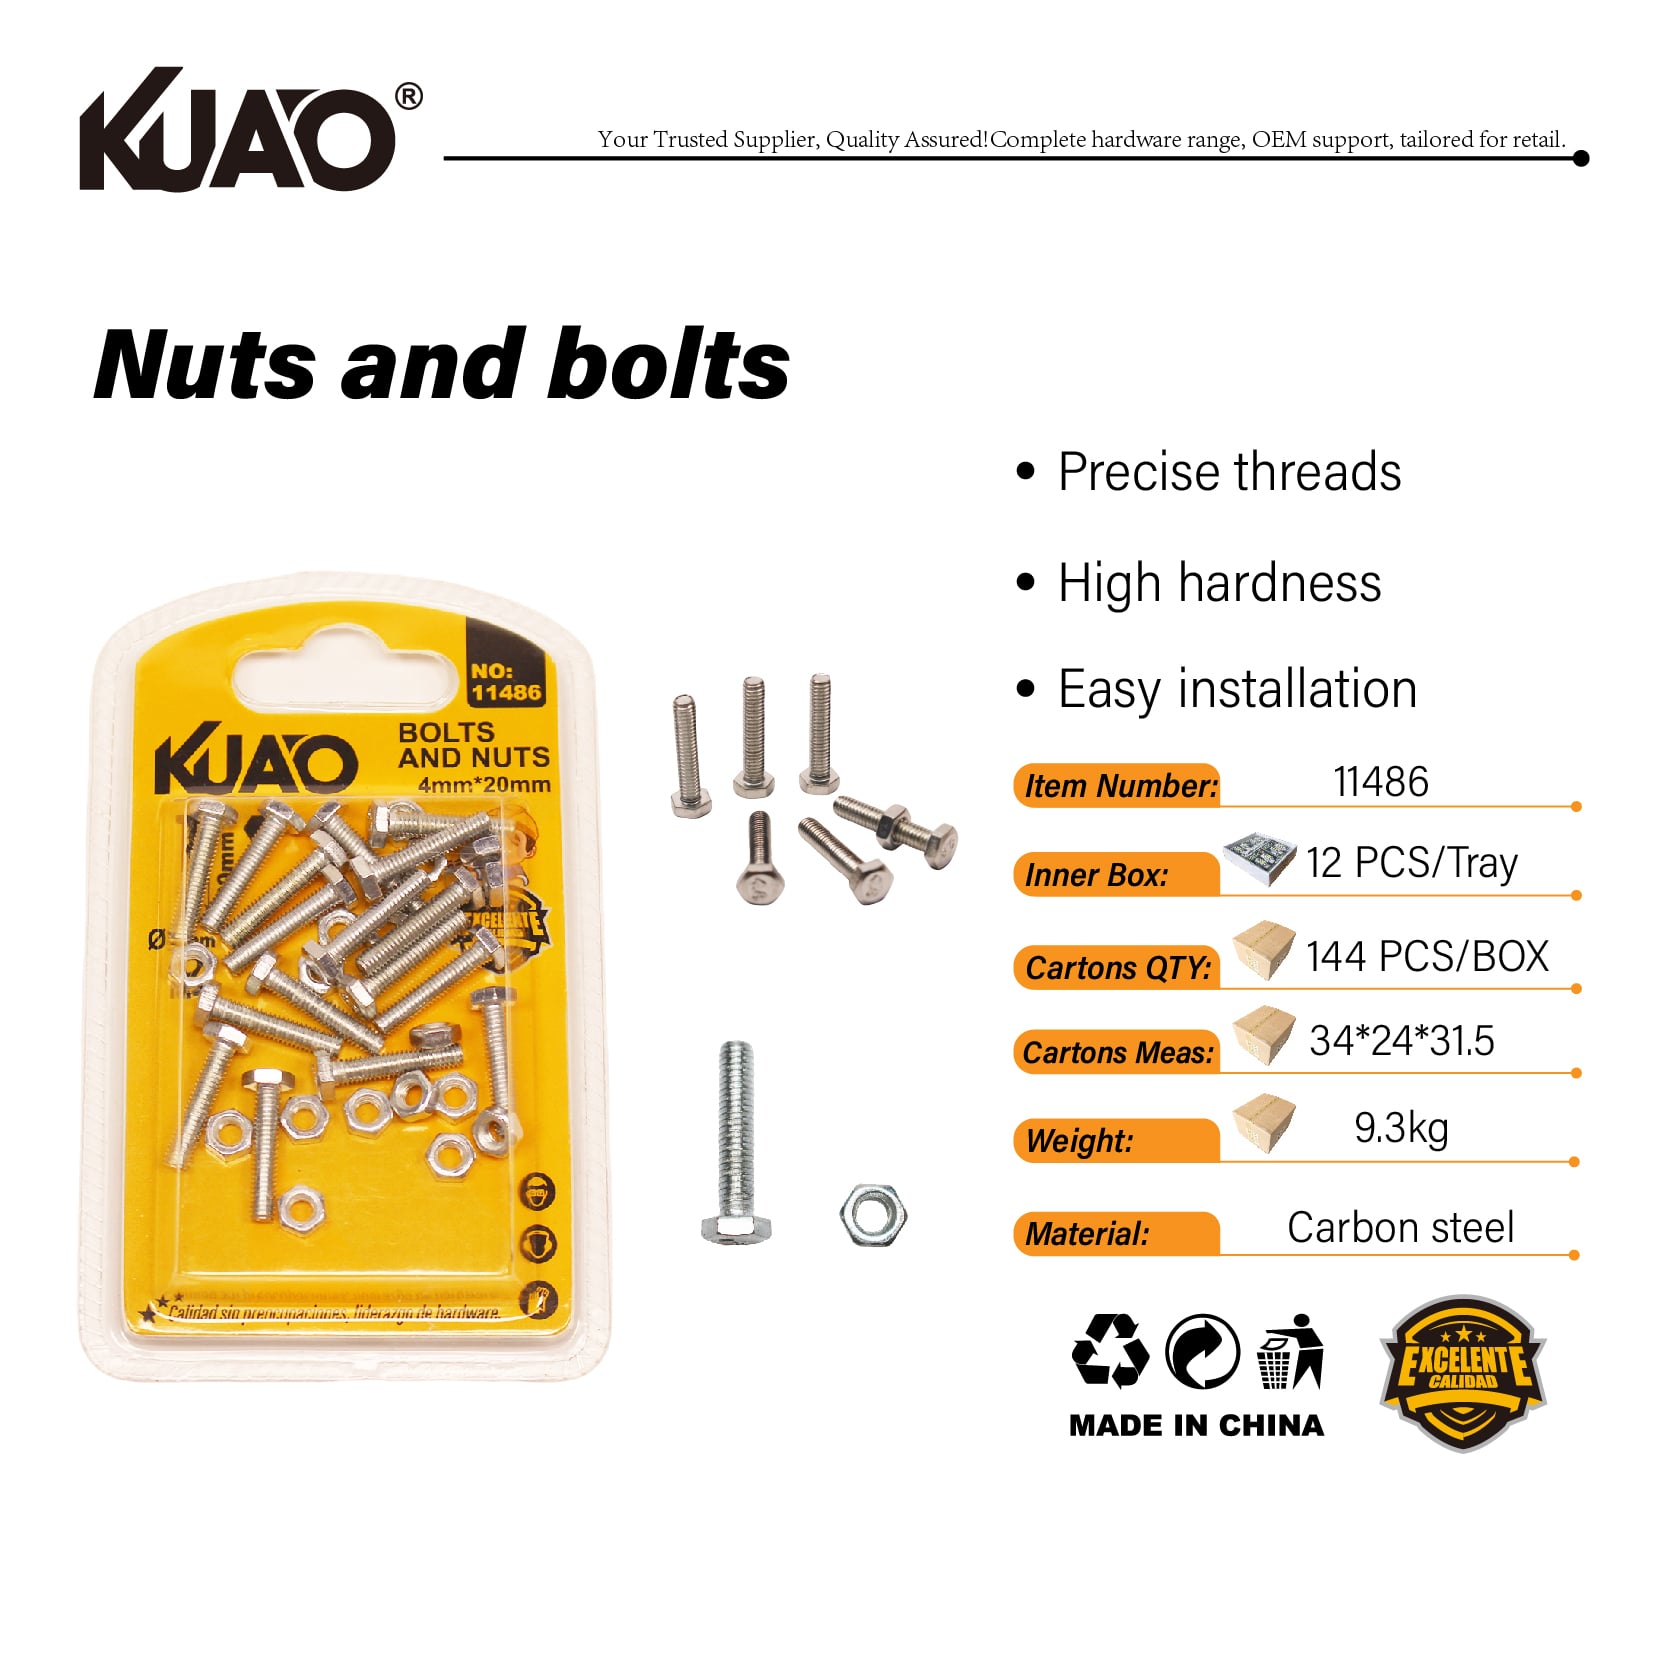
A bolt and nut must share the same diameter and thread pitch. Two parts can look nearly identical yet bind after a few turns if their threads do not match. Start the nut by hand; it should turn smoothly for several threads. If it resists immediately, stop. Cross-threading damages both pieces and can make a later repair far harder.
Coarse threads are often more forgiving in practical assembly and are common in general-purpose work. Fine threads have their own uses, but they are not a universal upgrade. The useful rule for DIY work is simpler: buy the matching nut with the bolt, keep the sizes together, and do not mix metric and inch-based hardware because the markings look similar.
Calculate the Right Bolt Length
Measure the total thickness of every part the bolt passes through: both workpieces, washers, brackets, and any spacer. Then allow enough threaded length for the nut to engage fully. In a typical bolted joint, the nut should be fully supported by the threads without leaving the stack loose. Excess length is not automatically dangerous, but a long exposed end can catch clothing, interfere with a moving part, or look unfinished.
A helpful habit is to assemble the stack dry before final tightening. Put the bolt through the actual pieces, add washers and the nut, and inspect both sides. This small check catches the common mistake of measuring only the main board and forgetting a bracket or washer.
Choose Head Style for Access and Appearance
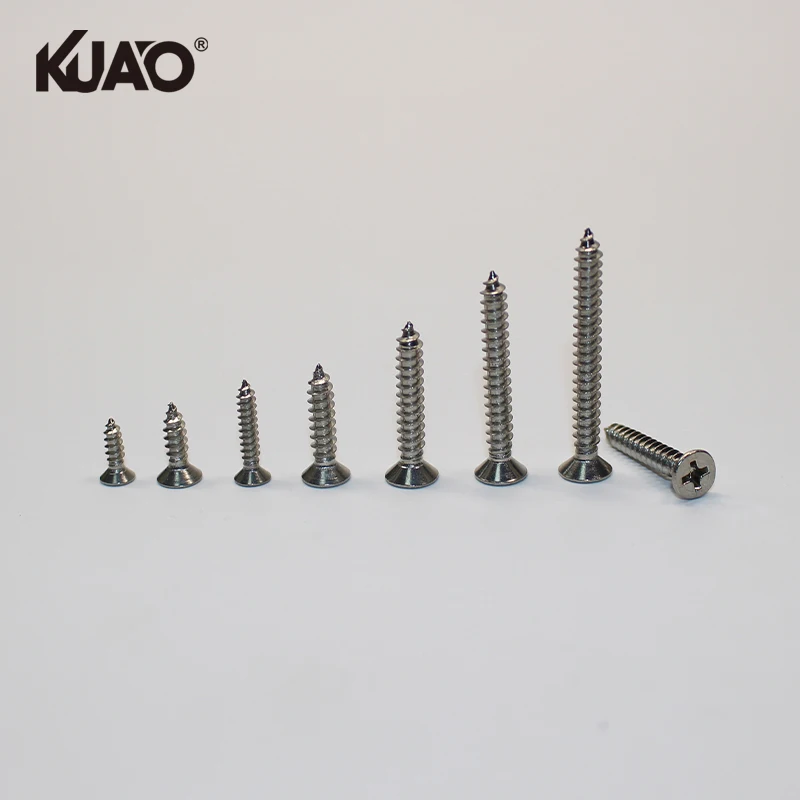
Head style changes how you install and use a bolt. A hex head is practical when you can reach it with a wrench or socket. A carriage bolt has a rounded head and a square section beneath it that can bite into wood, helping keep the bolt from spinning while the nut is tightened. A socket-head bolt can be useful where side clearance is limited, provided you have the correct hex key.
Think about tool access before you commit. Can a wrench reach the nut? Will the head sit against a flat surface? Does the project need a smooth outer face where hands or fabric will pass? Real DIY installations are rarely on an ideal workbench, so leave room for the tools you actually own.
Match Material and Finish to the Environment
Material and coating affect both strength and corrosion resistance. For a dry indoor project, a common zinc-coated steel bolt may be a practical option. For damp areas, outdoor furniture, or a garden project, corrosion resistance deserves more attention. Stainless steel is often considered for wet environments, but it is still important to choose compatible hardware and inspect the application rather than assuming any shiny bolt is weatherproof.
Do not select solely by appearance. A clean-looking finish does not tell you whether the bolt is appropriate for repeated load, exposure to moisture, or contact with dissimilar metals. If the project is safety-critical, load-bearing, or subject to building-code requirements, consult a qualified professional and use hardware specified for that application.
Use Washers and Locking Methods Deliberately
Washers are inexpensive insurance in many DIY joints. A flat washer distributes the load under the head or nut, especially on wood, plastic, and thin sheet material. A larger washer can be useful when the hole is slightly oversized or the material is soft. Lock nuts, suitable locking washers, or thread-locking products can help where vibration may loosen a connection, but they are not a substitute for correct sizing and proper tightening.
Here is the practical trade-off: the goal is secure, not crushed. Tightening a bolt too aggressively can compress wood fibers, deform plastic, strip threads, or damage a thin bracket. Tighten evenly, check alignment, and recheck the joint after the project has been used.
A Simple DIY Bolt Checklist
- Identify the materials and confirm that both sides of the joint are accessible.
- Measure the hole or choose a sensible bolt diameter before drilling.
- Match the bolt, nut, and thread pitch exactly.
- Add up the full stack thickness to choose length.
- Select a head style that your tools can reach.
- Choose a material and finish for the actual indoor or outdoor environment.
- Add washers or a locking method where the joint and material call for them.
- Test-fit, tighten carefully, and inspect the completed connection.
Make the Choice Easier
The right bolt is the one that fits the joint as a system, not the one with the most impressive label. When you begin with the materials, measure the stack, confirm thread compatibility, and account for moisture and tool access, most DIY fastener decisions become straightforward. Keep the packaging or label with leftover hardware so future repairs start with a known size instead of another round of guesswork.
 Hot News